Showing posts with label Prima Flowers. Show all posts

Monday, June 11, 2012

iPhone case tutorial using your scrapbook stash!


MaggieLamarre-Iphonecase
Hi Everyone,
My sister asked me to do something glitzy with her IPhone case for her to give a friend as a present and the friend has a little boy. This Hambly portrait gallery paper was perfect for what I had in mind.


Supplies needed:

Let’s begin!
  1. Trace the IPhone case onto the back of the paper and cut.
  2. Ink the edges apply a layer of modpodge on the case and the back of the paper. use your finger to remove any air pocket let dry.
20120607_2

Tip I cut the scrapbook paper smaller around the  corners, I wanted the red of the case to show a bit.

  1. Brush modpodge on the back of the rhinestone, adhere to the case.
20120607_1

20120607_3

  1. Adhere the gems by adding a dot of modpodge to the paper let dry.
20120607_4

  1. Brush a dollop of modpodge all over the case to seal the case. It will also repelled water as well.
20120607_6

Voila done, in less than 30 mtes you can create a unique iPhone case to suit your style.
MaggieLamarre-Iphonecase

Have a fabulous week, let me know if you have any questions?
Maggie


Share/Bookmark

Friday, December 3, 2010

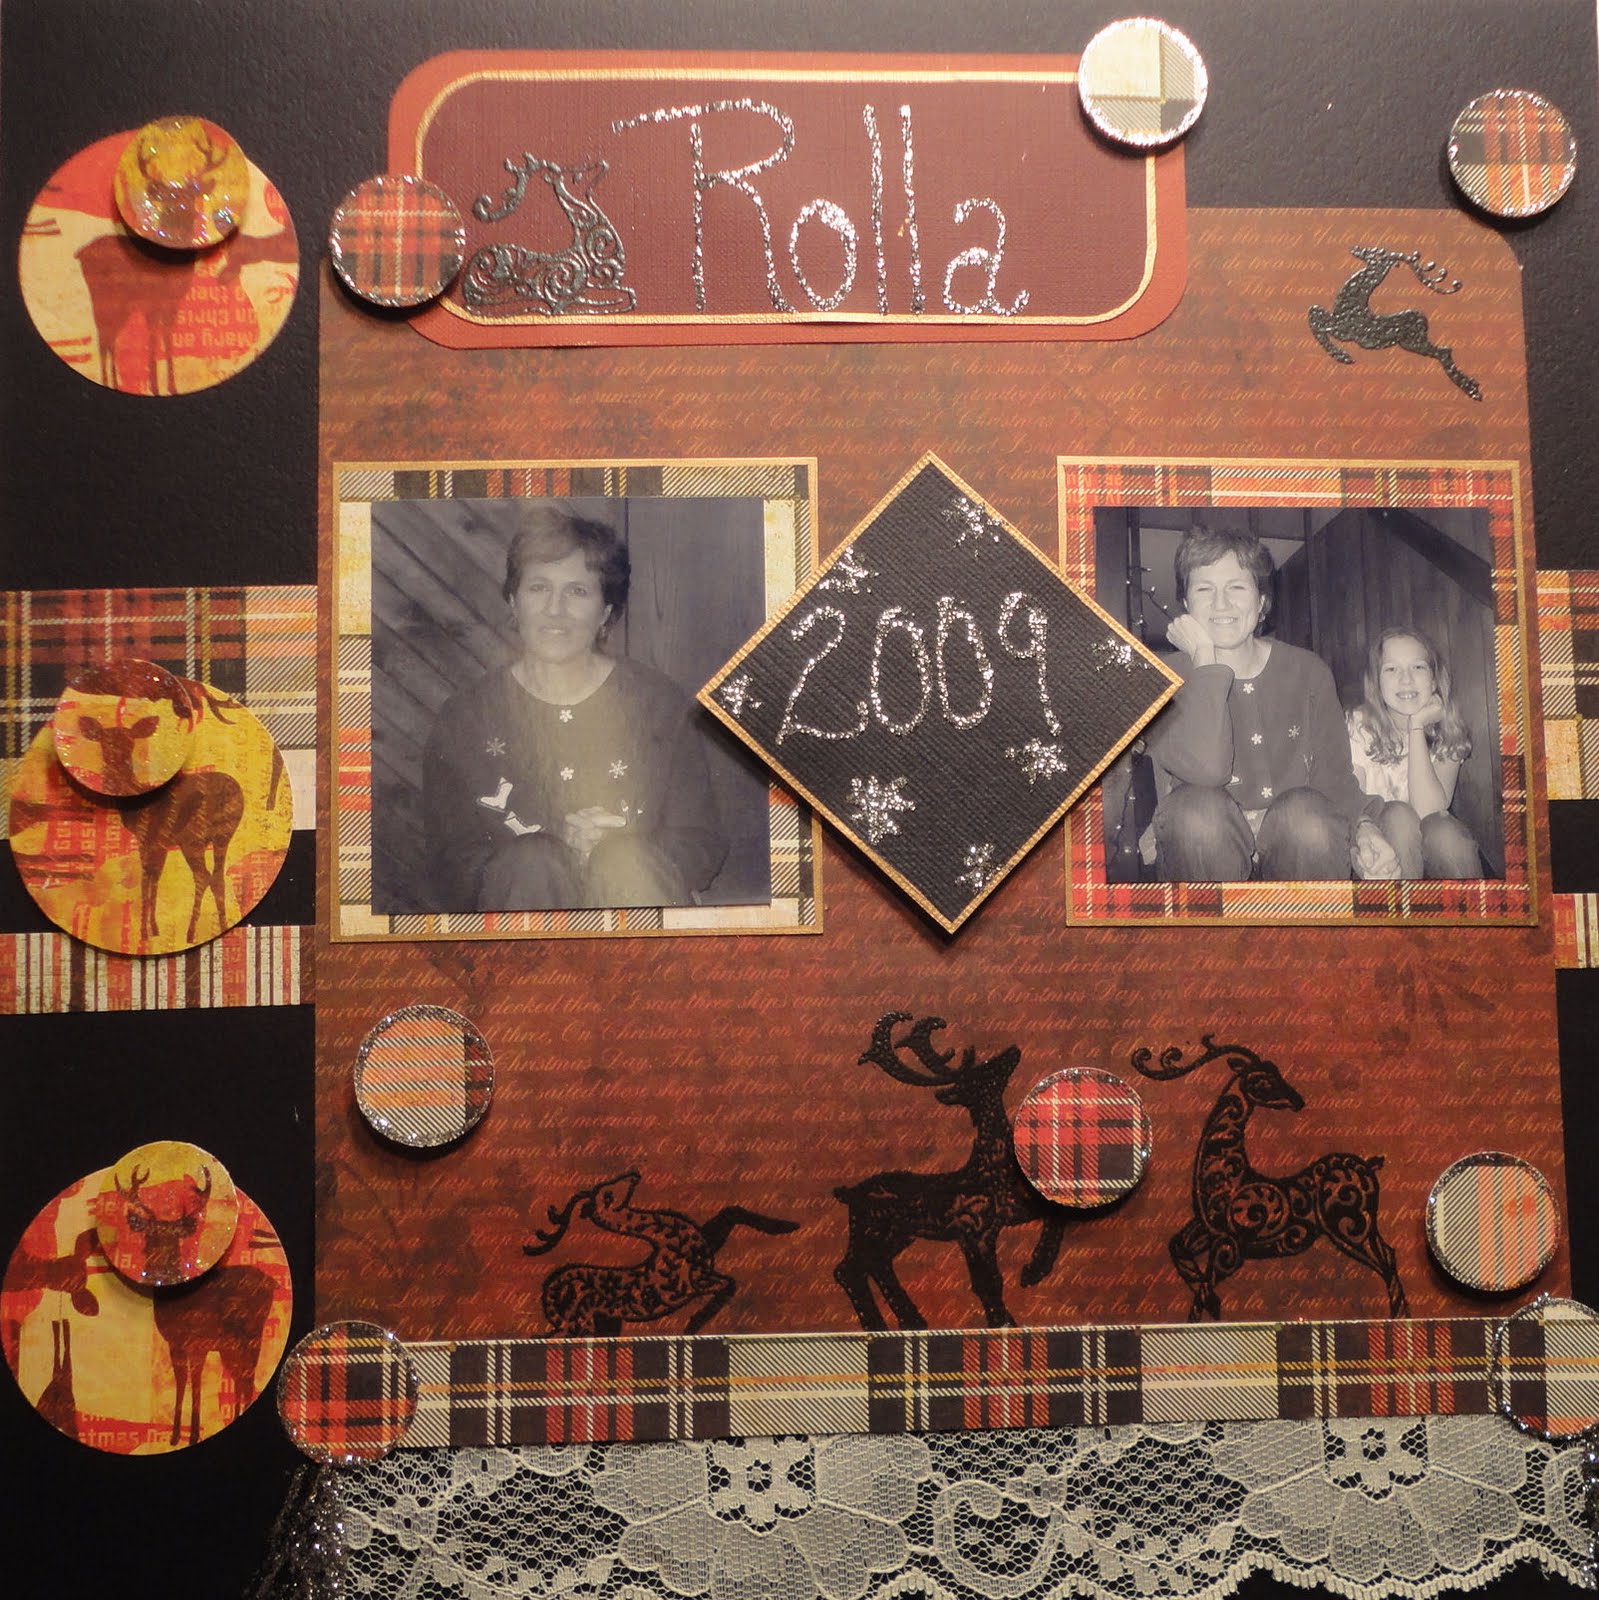
Scrapbook Page With Prima Flowers

This is a page I did for a challenge. This is an older photo of me and I just love it. I NEVER like photos of me! I started with some basic card stock and then layered! I added some paper ribbon and some real lace and fun Prima flowers. It is a fun and easy layout and hope you enjoy...below is a variation on the theme.
Hope you all are having a great and creative Holiday Season!

Kristi

http://kristiscreativecafe.blogspot.com/


Share/Bookmark

Tuesday, November 9, 2010

Jewelry Boxes, Layers of Color, Prima Flowers and Bling

I love to make these fun jewelry boxes. I start out with a nice coat of paint and go from there. This particular box I used a great texture stencil from Layers of Color. I just found this company recently and LOVE it. Great stamps and wonderful design team.

So I painted the boxe then after it was dry I used the stencil in each corner and stippled on the ink using a large stipple brush. I let then used embossing powder to make the images pop a bit more. I was still not super happy with the look so used the overlay again and stippled again and off set it just a bit and used a different color of embossing powder. LOVE the out come so far.


Then I figured out that I did not have just the right bling for the box so headed to my local store, Scrapbook Generation, and got some bling and some Prima flowers. I got those attached and then poured on a very thin layer of epoxy by Envirotec!

This is a top view!

I also lined the inside with fabric!
This is a different style of box but still really fun! Instead of pouring a clear coat on top I used polyurethane to seal the box and it also helped to really adhere the bling!

I love how the little drawer pulls out and shows the lining. No latch on the lid is alson really nice on this design.
With Christmas just around the corner I thought maybe everyone could use a little inspiration for a great handmade gift. For the first box you could even sneak in a pack of handmade cards they can send! I love getting handmade gifts that are functional and not just sit around look pretty and get dusty.
Would love to have you visit my blog and become a follower! When I reach 100 followers I will have another prize drawing!


Happy Creating

Kristi


Share/Bookmark

Wednesday, September 22, 2010

First Day of Fall! Autumn's Splendor & Blog Candy

I don't know about all of you but I am more than ready for the nice fall weather!

I love summer and was not minding the heat until.........the air went out.
So hear I sit hoping that it will cool off enough to sleep!
So I am thinking cool thoughts! I hope this card inspires you to spring into fall!


So let me start by saying this card just got bigger and more layered and it is more than I usually do on a card but I must admit, I love the way this card came out! So I will try to take you through it step by step.

  1. Cut your base card to 5 X 7 and use just a little double stick tape that you tear (La'Dore) and put it on the bottom edge and add leafing and brush off the excess.
  2. The next step was to get the leaves ready for the final step. These are the three leaves that overlap the sentiment. I used the translucent paste on the ever faithful non stick craft sheet and let dry. I then placed the stencil back over the leaves and applied glue ink. Then comes the leafing. Finally you peel the dry leaves carefully off the craft sheet and run through your sticker maker and set aside.
  3. I got these great leaves by Prima and just started layering them on the base card.
  4. I used the translucent paste on the leaf background, let it dry and used the same process as the leaves in step 2.
  5. Here is a HUGE secret. I use everything if it is not nailed down. The great paper/card the paste leaf background is layered on....card that some Prima flowers came on! Use a deckle pair of scissors on the edges!
  6. I stenciled the sentiment on the card stock with chalk (PanPastels) and then used translucent paste over the words.
  7. I edged the sentiment with some great deep colors of the chalk.
  8. I started attaching layers. Prima packaging card/leaf background/sentiment/some additional Prima leaves.
  9. I added a button and now peeled the "sticker" leaves and attached them to the card.
  10. Now with me it is not done unless it has some glitter so used just a touch of glitter on the last leaves attached
  11. Of course it is all topped off with a GREAT ribbon from Bo-Bunny.

In order to do this card you need the supplies but mostly patience to let all the embossing paste dry! I just love all the different paste that Dreamweaver has. All stencils used are also Dreamweaver Designs!
Check out my other cards and idea on my blog kristiscreativecafe.blogspot.com


PS Don't forget to enter the giveaway of Mypinkstamper DVD Here

and a $10.00 GC to William Sonoma Here

More giveaway to enter for 3 Cricut Cartridges (2 Home Decor) ( 1 Once Upon a Princess)Here

Happy Creating


Share/Bookmark

Sunday, March 7, 2010

National Craft Month & Lamp Shade

4402106984_ece9d6f581_o

Hi Everyone,
Welcome to a fantastic month of celebration from International Woman's Day, St Patrick's Day to our favorite ~ National Craft Month!
We plan on creating wonderful inspirations for you with a Wow Factor.

Today we are celebrating the gift of Light. Without light it is hard to create ART!

I’m Maggie with you today as I share a simple tutorial using the Cricut ExpressionProvo Craft Gypsy, and Cuttlebug from Provo Craft

Supplies: Sassafras papers, terrifically tacky tape, glitter from Ek Success (MS), Zip Dry glue, Tattered Angels Glimmer Mist, Colorbok fluid chalk, Brads, Prima Say it in Studs.

How to:
1.Select the shadow on the Accent Essential Cartridge and size to 4 inches, multiply by 2, then down size to 3.5 inches, downsize again to 3 inches, downsize again to 2.5 inches for a total of 8 flowers.

DSC09283

2. Ink the edges, spritz the flowers with Tattered Angels Glimmer Mist, crumple and let dry for 2 minutes. The smaller flowers add glitter using the EK Success and MS fine gold glitter.

DSC09286 DSC09287


3.Unfurl the flowers a little bit, insert a brad into the center.

4400090990_1455bcbf88

4. Use tacky tape and adhere the flowers to the lampshade, add Organza Ribbon for a finishing touch.

DSC09289 4399319193_0768a02bae


5. Adhere Prima Say it in Studs to the sides of the flowers, add the punch butterflies.


4399316857_100dd1b372
Voila, you are done!

Here is the finish Lampshade…wasn’t that easy, eh?

4402106984_ece9d6f581_o

Thank you so much for stopping by and taking the time to leave a comment letting us know what you think?

Have an inspiring day!
Maggie


PS. don't forget all the prizes we are giving away this month..

Help us spread the word by inviting your friends to become followers, tweet about the blog..

Raspberry Cuttlebug Giveaway


Share/Bookmark