Sunday, January 16, 2011

Getting Ready for CHA


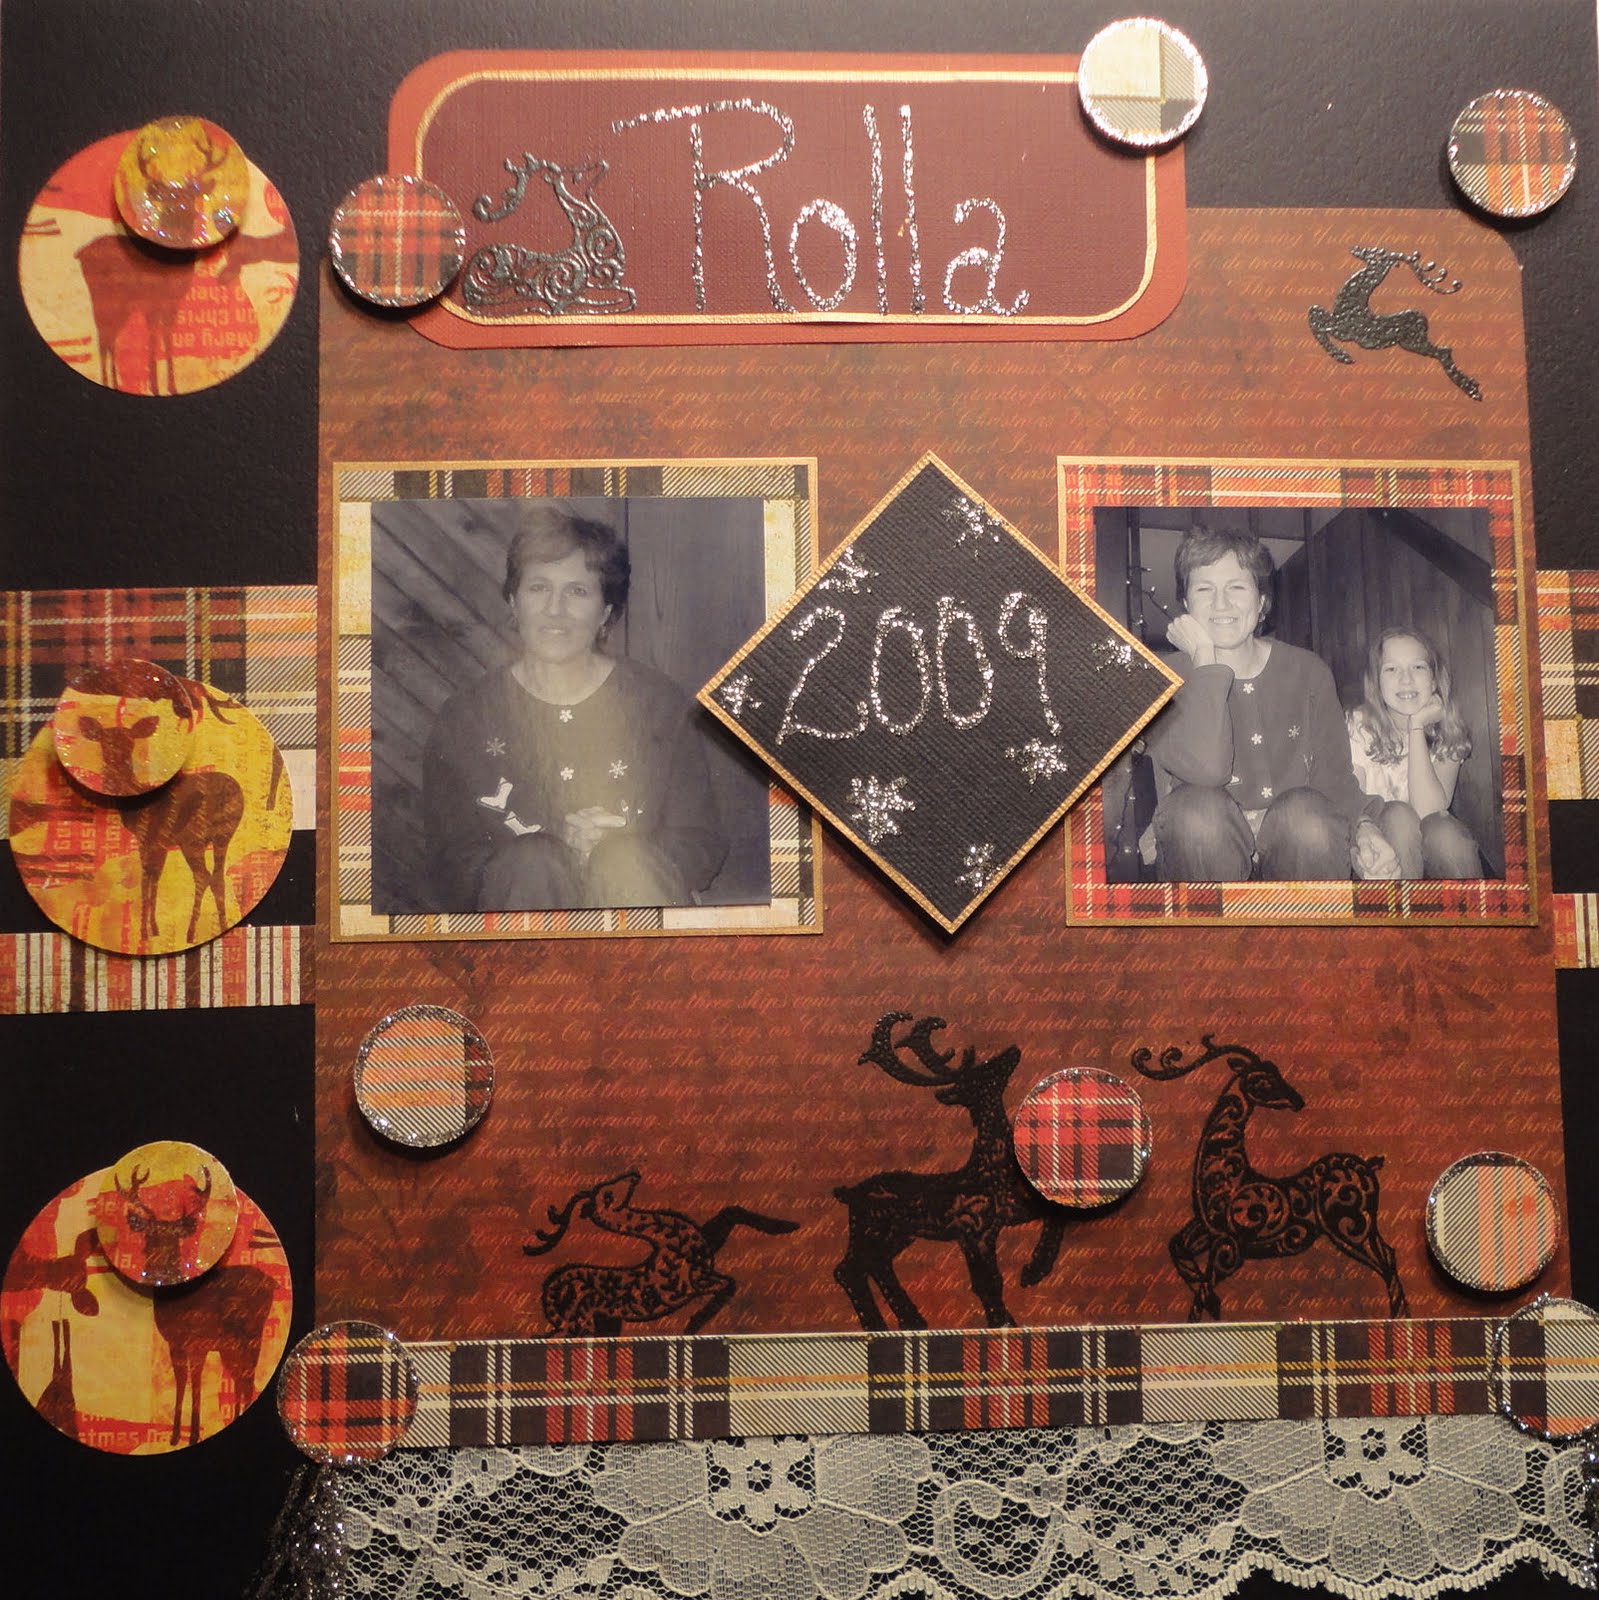
You are getting a sneak peak at one of the new release stencils from Dreamweaver!  This is actually a stripe background but I had the first layer of paste dry then turned it to make plaid!  Check my blog and the other blogs of the Dreamweaver DT for more peeks and designs to peak your interest!  http://www.kristiscreativecafe.blogspot.com/


Happy Creating,
Kristi

Share/Bookmark

Wednesday, January 12, 2011

Happy New Year and Amazing January!

Hi Everyone,

Thank you so much for sticking with me,visiting and the best wishes. As some of you know I am currently fighting Cyanic nerve damage on my lower back. I gotta tell you this pain is worse than giving birth.

A huge thank you to Kristi for keeping the site going with amazing projects from Jewelry to cards.

Thank you to Chris Wooten and Jennifer for checking on me. This is what this amazing hobby is about the friendship you make from all over the world.

Speaking of friendship I receive this email from Chris on an awesome giveaway she is doing on her blog turnedGypsy, so please take a moment to visit her.

Today I want to go over an awesome way you can create your layouts by visiting older Cricut Cartridges, you know what they say about those oldies they get better with age right.

Last October we visited one of my favorite city in Georgia Savannah! Every October we go to Maggie Valley and Gatlinburg, but due to back pain I couldn’t sit long enough for that. Anywhoo here’s my fav 5 top things to do.

1.Forsyth Park  you gotta visit it in the am and pm to capture this gorgeous landmark of the city.

2.Paula Dean store not the restaurant cause the few times we ate there the food is always awful and bland. Not what I expected at all from her amazing show.

3.Tours, I’m not a fan of those drive thru tours, so I suggest a walking tour they are very informative.

4.Savannah Candy company and salt water taffy, omg the peanut brittle is too die for literally.

5.Bay street, bring comfortable shoes with you the street is uneven cobblestone.

Here’s my lo! we are going old school using our stash and tools.

Who knew Plantin School book had such a treasure of a city Landscape to fit perfectly for my lo :)

SONY DSC

Instructions:

  • Cut 3 circles from Storybook cartridge sizes 5”, 4.5”,3”. Cut high 5  and in circle graphically speaking at 5”, ink the edges and use a zig pen to outline the shape. Cut the skyline from Plantin Schoolbook cartridge,ink the edges. Weld 2 borders from Martha Stewart cart,  ink the edges.

Assemble

  • Cut a strip of stripe paper 2.25”x12”, ink the edges, apply to the top. Add another border strip ink the edges, add the cut out border.
  • Adhere the cut circles in ascending order, adhere the high 5to the circle, adhere the In to the right of the circles.
  • Adhere the city landscape to the bottom of the circles. Create notches using Basic Grey notch tool. Add rhinestones to the notches.
  • Create a mat by cutting a half circle on the bottom to make the mat look like a bridge.  Adhere pics to the mat, then add Cosmo Cricket  Tiny Alpha onto the circle.
  • Stamp #5  using Staz on ink and Inkadinkado stamps, add another strip to the bottom.

Supplies

  • Gypsy, Cricut Machine
  • Graphically speaking  cricut cartridge, Storybook cartridge , Plantin School book from Provo Craft.
  • Basic Grey notch tool
  • Staz on ink and Inkadinkado stamps

voila done!

Thank you so much for stopping by. I plan to resume our regular posting next week with meal plans.

Maggie

Here’s some more pics for you!

DSC00443 SONY DSC
DSC00545 DSC00503
DSC00541 DSC00426


Share/Bookmark

Sunday, January 2, 2011

Happy New Year and Look out for Valentine's!

Well, 2011 has started very quietly in my world.  Kind of nice I must say.  I thought I would share a card to get you all geared up for Valentine's Day using Dreamweaver Stencils.

  1. This card was created with the double glitter technique.  You place your double sided tape on the project and peel off the layer to expose the 2nd sticky side.  You then soap the back of your stencil.  Dreamweaver sells a great coconut soap that does not flake!
  2. Place the now soaped stencil on the tape and press down.  press firm enough it will stay in place but not so hard that the stencil will stick permanently.
  3. Sprinkle on one color glitter and shake off the excess.
  4. Remove the stencil and sprinkle on your 2nd glitter color.
  5. For this card I then added the sticky trim that looks like lace (Bo Bunny)
  6. Last I put the word stencil on the card front and applied black glossy paste.
Hope that 2011 is the best yet for you.  Please come and visit my blog and become a follower for a chance to win great prizes.  The next prize will be when I have 100 followers!

http://www.kristiscreativecafe.blogspot.com
Creatively Yours,

Kristi

Share/Bookmark

Wednesday, December 22, 2010

sorry for the delay in posting...Christmas Wishes Winter Card

This is my winter card from me to each of you!  May 2011 be filled with joy, hope, peace and love.  Merry Christmas!!
Dreamweaver stencils were used with pearl paste and then blended with some purple pearl-ex.

Happy Creating in the new year!
Kristi
Share/Bookmark

Monday, December 20, 2010

Counting down to Christmas with a menu and coupons!

Hello Everyone,

Chances are you have a friend or co-worker still wondering what to get them? here’s a simple quick idea. Desktop or wall Calendar.

Desktop or wall Calendar 2011


SONY DSC

Supplies:
DSC00943

  • Graphic45 Debutante and Christmas past line
  • Want2scrap rhinestones
  • Rub n buff
  • Glue Dots International
  • Iridescent Medium
  • Ranger distress ink
  • Ribbon
  • Pearl Ex
  • Ek Success scallop punch
  • Embellishments
  • Calendar download

How to:
  • Remove the glass from the frame and mix a bit of the iridescent medium with Pearl ex. With a brush cover the mat with your chosen color. I chose a light gold. Let dry 5 min.

  • Use distress ink to edge the mat insert.

  • Cut Graphic45 paper of choice by using the mat as your guide.

  • Print calendar and reduce the size to fit the glass frame. Use distress ink on the printed calendar too. Adhere to the bottom of the paper right under the mat.

  • Cut a strip of coordinating Graphic45 paper using the scallop punch. Distress the edge and adhere to the top of the calendar to cover the cut line.

  • Cut a strip of ribbon and adhere to the top of the scallop strip.

  • Replace glass top and insert into the frame.

Now for decorating the glass portion!

Follow Miss Tracy's directions to make a rosette from yesterday’s post .

  • Add rhinestones from Want2srap to the center of the flowers on the glass.

  • Add flourish rhinestones and add more rhinestones to create visual interest.

TIP:

I cut the flourish to fit the size I needed and added more rhinestones to match the rose centers.

  • Adhere rosettes with Glue Dots. Adhere embellished tag from Graphic 45 Debutante collection then add buttons.

TIP:

I ran out of the medium sized buttons so instead I colored a white button with E79 to fit the color scheme I needed.

  • I added another circle to the tag and rhinestones to complete the look.

  • The frame was too shiny for me so I used Rub n Buff to add more of a patina.

Maggielamarre-12daysofcalendar1
Maggielamarre-12daysofcalendar2
Voila you are done!
Here is the final Calendar!

SONY DSC


Happy Monday just 5 days away from Christmas are you ready?

Here’s a 4 day menu I plan on doing before Xmas..

  • MONDAY Stroganoff-Style Beef with Broccoli
  • TUESDAY Chicken Alfredo and Rice Casserole
  • WEDNESDAY Slow-Cooker Flemish Beef Stew
  • THURSDAY  Slow-Cooked Chicken with Sourdough-Mushroom Stuffing
  • Here are your coupons for the week Smile

    10000-6DaysLeft-Email6_06

    10000-6DaysLeft-Email6_07

    12_19email_3box_05

    coupon1


    Term:  1 Yr 15 Issues

    Cover Price: $47.43

    Consumer pays a total of: $4.69

    wphoto_new_logo

    232323232%7Ffp43233)ju=fqqurnh=duvgwu)=4236393=FqetdpgaZCOIUGHPV=lodih=k=KQOKGC_33aGgfa5242bndpgkqib ; 9236)21rqi

    have a great day,

    Maggie

    PS be sure to visit tomorrow as I share another tutorial Smile


    Share/Bookmark

    Sunday, December 19, 2010

    Christmas Gift ideas and crafts with kids!

    Hi Everyone,

    Thank you so much for all the well wishes, I am feeling so much better and ready to get into crafting full on!

    I have several Christmas gift ideas, I’ve shared on Passionately Artistic site, I hope you had a chance to visit.

    Here’s a fun idea I shared on the Want2scrap blog, that you can do with kids very easily…

    Chocolate Covered Spoons

    MaggieLamarre-Believe

    If you have to create gifts for a large number of people such as teachers or church admin then this is a quick and easy gift idea you can make in less than 5 min.

    Ready???

    Supplies:

    • Want2scrap candy cane die cut
    • Wilton clear bags
    • Clear Spoons
    • Parchment paper
    • Ribbon
    • Bakers dark chocolate, white chocolate
    • Cinnamon spice, marshmallow, sugar candy
    How to:
    • Melt the chocolate on a double boiler or melt at 20 sec increments in the microwave, stirring  after each time.
    • On parchment paper, dip the spoon into the melted chocolate, making sure it is coated well. Let cool for 2 min and then sprinkle sugared candy or shaved white chocolate over the spoon. Let cool for 5 min and repeat the process until you have all spoons coated.
    • Add the spoons to the clear bag and tie a ribbon around the bag. Adhere the candy cane diecut to the back with a sentiment and a little extra bling.
    Voila you are done!

    Isn’t that the cutest???  I could think of a ton of people to give these to.  What a great little gift idea!

    Have a great day everyone,

    See you tomorrow as I resume the weekly menus.

    Maggie


    Share/Bookmark

    Wednesday, December 8, 2010

    Another Wednesday! Fun with Jewelry

    I decided to share a couple of my wire wrapped creations today. I love the top stone. It was also the one of the first pieces that I did a solid wrapped bail.

    This is just a fun piece that I first added a bit of embossing paste to on the small rose stencil. If you like the look of wire wrapped jewelry then check out your local beading store. Most offer classes in wire wrapping and you will be amazed at how quickly you become addicted!


    Check out my blog for other creative ideas and Dreamweaver Thursday Dream Schemes!


    Happy Creating

    Kristi


    Share/Bookmark

    Friday, December 3, 2010

    Scrapbook Page With Prima Flowers

    This is a page I did for a challenge. This is an older photo of me and I just love it. I NEVER like photos of me! I started with some basic card stock and then layered! I added some paper ribbon and some real lace and fun Prima flowers. It is a fun and easy layout and hope you enjoy...below is a variation on the theme.
    Hope you all are having a great and creative Holiday Season!

    Kristi

    http://kristiscreativecafe.blogspot.com/


    Share/Bookmark