Today I will start a series of basic tutorials using the Quickutz Silhouette! This machine is so amazing and can do SO much! I will start out with the very basic applications so that everyone may learn what they can accomplish. Today we are working with opening a new file and using basic shapes.
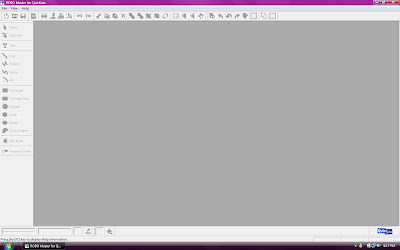
This is what the ROBO Master software looks like when you first open it up, none of the buttons are live until you open a new file.
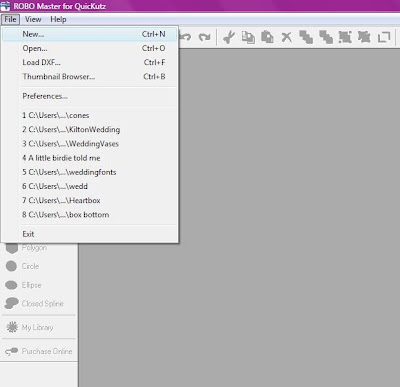
 To open a new file go up to the tool bar at the top and on the very left is it the "file" tab, click that, move down to "new" and click.
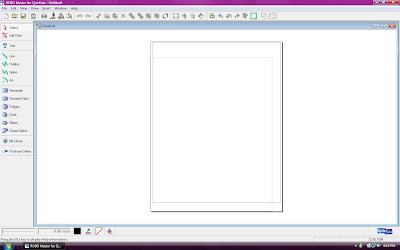
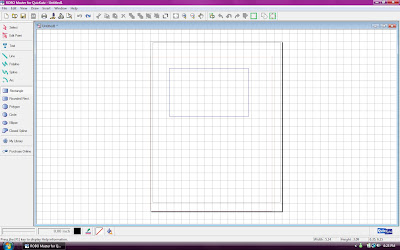
 When your new file opens this is what you get. The colored line is your cutting area and the outer lines is your paper and mat area.
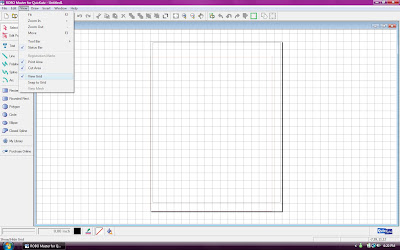
 Now comes a very important step and a very useful tool! The software that come with the silhouette makes it very easy to size and place shapes by providing you with a "grid". To view your grid move your mouse pointer to the tool bar above once again and select "View" slide down to "View Grid" and click.
Each square as a default is a half inch. But can be changed if preferred. This is what your grid will look like.
 Now we are ready to start playing with our basic shape! Ive chosen a Rectangle to work with today which would be perfect for home made labels, journaling spots, or anything else you can imagine! Go to the left hand column and click on "Rectangle".
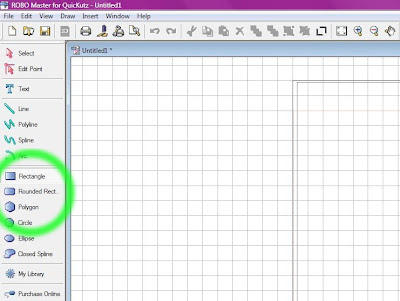 Click anywhere on your cutting area and drag until you reach your desired Rectangle size, then click again to set.
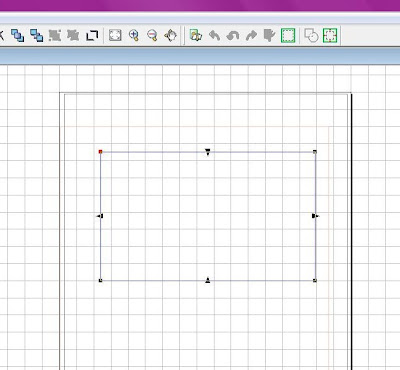
 Say you don't like your rectangle the way it is and would like to adjust it, to do so take your cursor and click on your shape, as soon as you do that little squares and triangles will appear on each corner and line. To adjust click and drag these points.
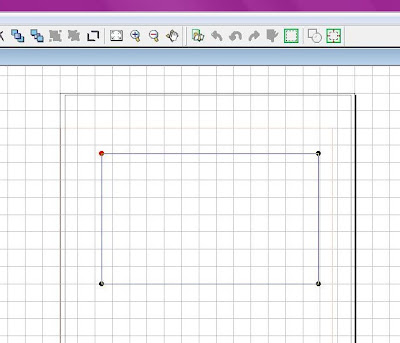
 To rotate your shape simply double click one of the squares on either corner and they turn to circles and once you click on of those circles your entire shape moves with the cursor and can be flipped.
 When you are done making adjustments to your shape click anywhere on your grid to deselect. Now we are ready to cut! Again move your mouse cursor up to the top tool bar and click on the cut icon.
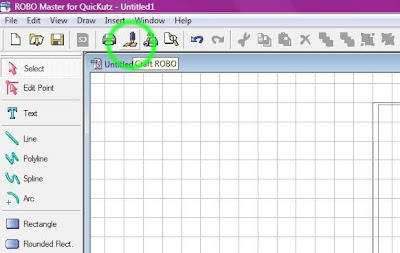 Next a cut menu will pop up, go ahead and press ok.
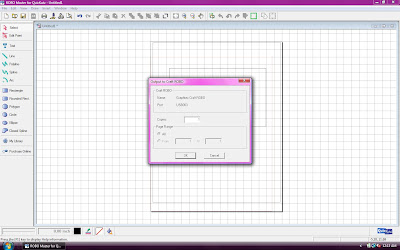
Then another menu will pop up and walk you through the steps of cutting out your shape which we will go over in detail in our next tutorial. Thank you all so much for wanting to learn how to use the Quickutz Silhouette!
This machine has changed the way I scrapbook and I'm sure that all of you will fall in love with it too.
Let us know what you think of the tutorial and how helpful it was to you?
Have a great day,
Courtney





3 comments:
Excellent tutorial Courtney. Now I am wishing I had the Silhouette too ... this looks like such fun!
Hugz,
♥Carol♥
Thank you so much for this tutorial! I got a great deal on a Silhouette, but have used my Cricut more since there seem to be more tutorials on line for the Cricut.
Sarah you will love this machine! I won a cricut in a contest one year and sadly I have never used the thing because I cant afford any cartridges! With my Silhouette I can download shapes off of the internet for $2 a piece!!! And it can do so much! I hope you stay tuned for more of what it can do! I do wish I could use both though because they both have pros and cons!
Post a Comment