The very first step is to grab your cutting mat.
 Pull off the center wax sheet off of your mat. Be sure to leave the yellow on the edges these make it easier for your wheels on the machine grab the mat and take it through.
 Next is a very important step. Load your mat by placing the wheels on your yellow strips and turning your wheel on the left to feed the mat into the machine. This is the very important part, you need to take the edge of your media and take it tot he furthest edge of your black cutting strip.
 Now we will start learning how to use the guided cutting menu. Go back to your open file in your ROBO Master software and press the cut button in your top toolbar. Another menu will pop up, go ahead and press ok.
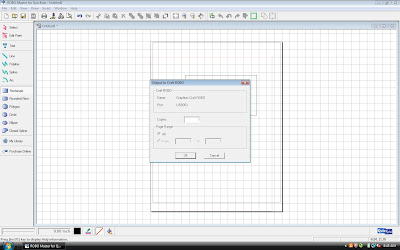 After you press ok your cutting menu will pop up. If you do not see an image like the one below click on the "show operation guide" in the upper right hand corner of the pop up window. Notice that the sections you are working with will be highlighted in the title area and the area on your guide that you are working with.
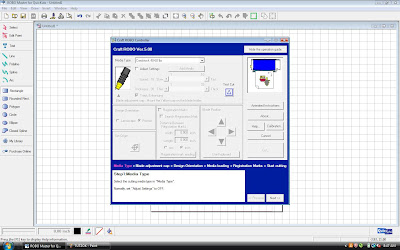
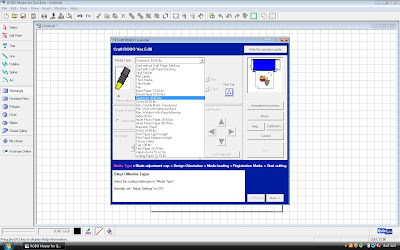
The first thing the guide asks you to choose is your media type. Click on the drop down box and a long list of cutting possibilities drops down, most of the time it will be the cardstock 40-60 lbs. The silhouette is so versatile however that if you dont see your option you can even create your own media type.
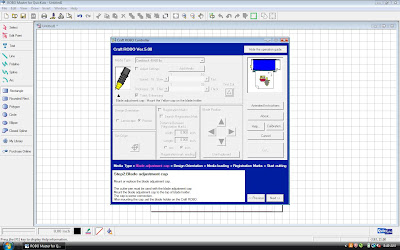
 Next is to choose your blade adjustment cap, the guide will tell you depending on your media type which color cap you should put on your blade. For cardstock the software will tell you to choose a yellow cap.
 Next is design orientation. This means the direction you would like to cut, for example landscape or portriat. I always select portrait.
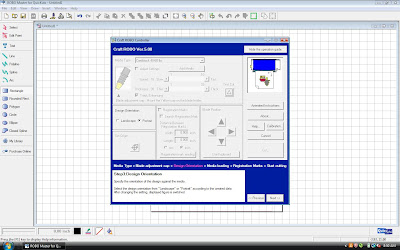 The next step is a very important step to pay attention to, this step chooses which orientation you want the machine to cut your image, I'm already used to the default option which cuts upside down but you can change this if its not what you like.
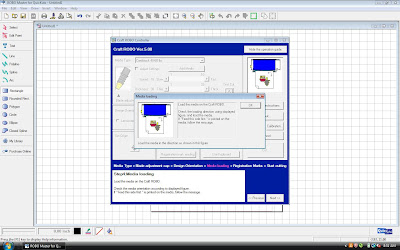
The next step lets you choose exactly where you would like your blade position to rest and where you would like to start cutting.
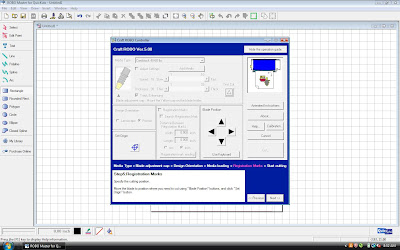 Next is our final step. Go ahead and click on the big CUT button.
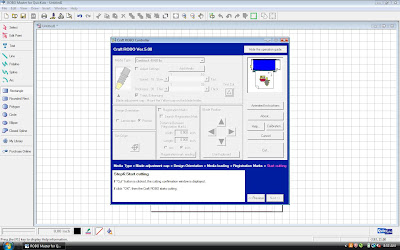
Right above the cut button there are other help options if you get stuck, such as a help button and even animated instructions!!! Next your machine will make some space age like noises and feed the mat back and forth before settling and starting to cut. To unload your media turn the wheel on the left of the machine the opposite direction you did to load your media and peel from your mat! Its SO easy!
Pink Journey Giveaway more info about this giveaway HERE





7 comments:
Thanks for the tips! They help me a lot!
I am a Cricut user, but I am sure this will be helpful for others. :-)
This is a great tutorial.
Great video! Thanks for sharing!
I dont own this but really like how well you did the instructions with the pictures of each page. Thanks for sharing
I have always been curious about this machine. Thanks for the info.
Hhmmmm...I may have to look into this too!! :) Thanks
Post a Comment