First as always open a new file.
Next go to your upper toolbar and look for the import file button.
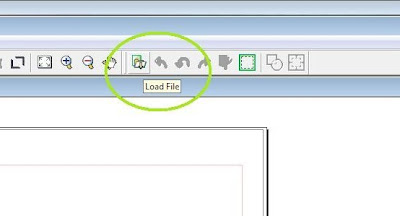 Next place your image. Note bigger files will take longer to load for an example I chose a jpeg file that is a photo of my Christmas tree this year after my kids decorated it. Edit size and placement, making sure to place image inside your cutting area.
Next in the same area of your toolbar there is a tab labeled "Clip Image" while your image is selected click on this tab. Next there will be a blue outline to your whole image rather than the editing arrows.
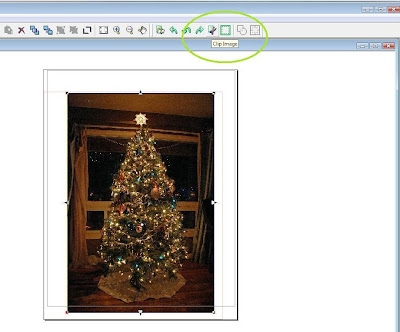 After you have clicked on "Clip Image" choose one of the closed line tools such as the rectangle or rounded rectangle on your left toolbar.
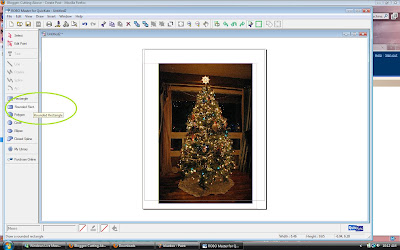 Click and drag a rectangle or circle around the whole image you want to crop.
 Click again to clip your image.
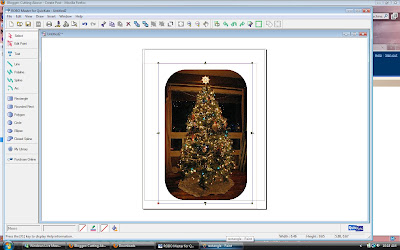 To get a super close crop use the closed spline tool on the left toolbar near the rounded rectangle.
Next select your image and press the "Get Outline" tab.
 A new window will open up to edit your cut lines. Click on the "Outer Frame Only" box.
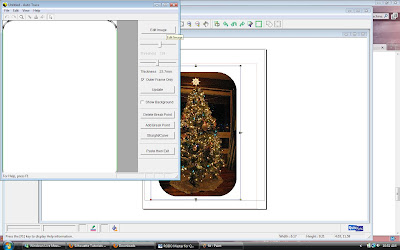
Click "Paste Then Exit" and your image will paste to the cutting area.
Deselect image and add registration marks by going up to the top toolbar clicking on edit then clicking on registration mark settings. Check the box that leaves the marks and press ok to place them.
Print out your image on your selected media, load media into Silhouette and press cut. Then your image will be cut they way you selected!


2 comments:
Now that is cool! I will certainly have to give it a try!
Interesting....
TFS .... TR
Post a Comment